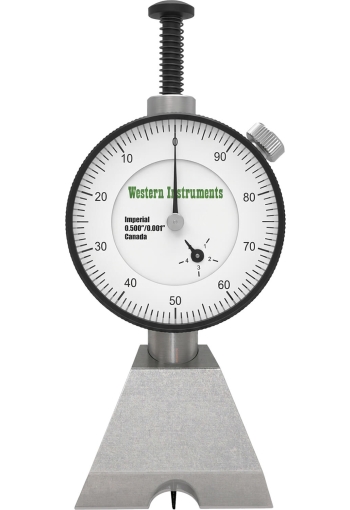
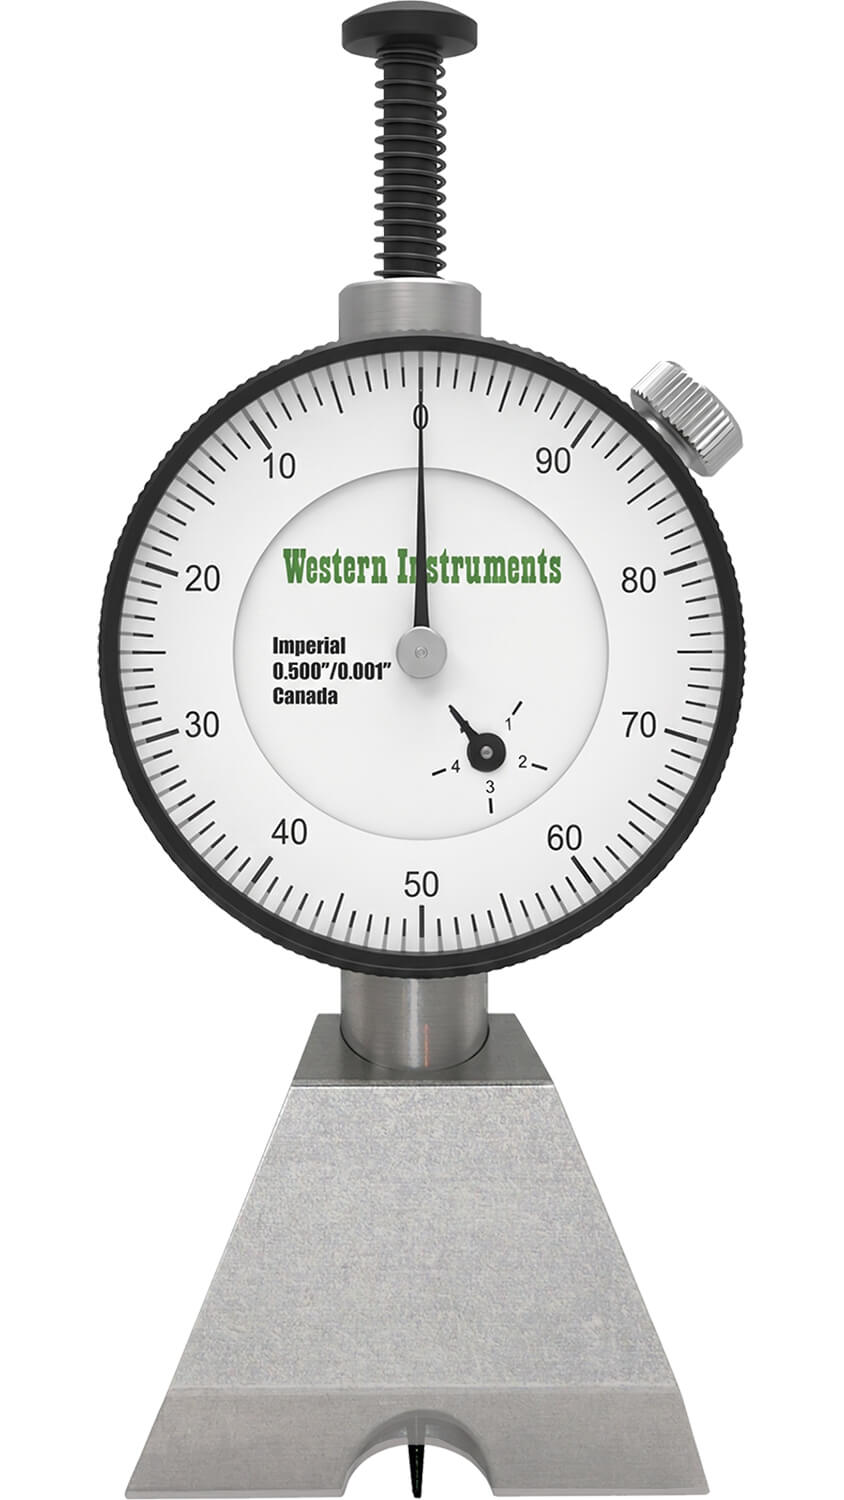
Western Instruments N88-4 Pocket Depth Pit Gauge, 1.5" Dual Edge Reversible Blade
Western Instruments Pit Depth Gauges assure compliance with vessel, pipeline, tank and OCTG specifications for corrosion and erosion depth measurement.
Measuring Range: 0.0-0.5" (0.0 - 12.7 mm)
Resolution: 0.001" (0.01 mm)
Dial Diameter: 1.4" (35.5 mm)
Center-mount 1.5" (38 mm) Dual Edge Blade (Reversible)
Available with dial or digital indicators
Western Instruments Pit Depth Gauges allow the Corrosion Inspector to conveniently measure Pit Depth or material loss in areas of Weight-Loss Corrosion.Various Blades for the Pit Gauges are available for different applications, including the Bridging Pit Gauge which permits Inspectors to Span or Cantilever over large areas of Weight-Loss Corrosion, to get a true measure of Pit Depth.
Western Instruments’ Pocket Pit Gauge was introduced over 20 years ago, and has quickly become Western’s most popular Dial indicator Pit Depth Gauge. The Pocket has a versatile Reversible Blade which allows Measurements on Flat surfaces, and compound curvatures with the Spot Configuration. When measuring with the Flat Side of the Blade (38mm / 1½"), the inspector can measure on the longitudinal axis of tube & pipe or a single curvature. The Spot Side of the Blade (12.5mm / ½") permits measurements on Compound curves like a ball, and more specifically; Pump Scrolls and Impellers, Gas Cylinder Necks and Bases, and Turbine Blades. Zeroing a Pocket Pit Gauge, using the Flat Side of the Blade, is just like any of our standard Dial Indicator Pit Gauges, and is outline is the Operator Instructions. To Zero on a compound curvature the Blade needs to be reversed to the Spot side as illustrated on the right. The Operator then loosens the set screw holding the Dial Indicator, and places the Blade on a similar curvature to the area he needs to inspect. With the Blade sitting on the good curvature, the Dial Indicator’s Contact Point is gently put in contact to the good surface, and the set screw is carefully tightened to clamp the Dial Indicator. The Pocket Pit Gauge can then be used to measure the pit on the complex curvature. If the shape of the surface changes from the original zero, then the Pocket Pit Gauge should be re-zeroed.
Like all of Western Instruments Dial Pit Gauges, the Pocket Pit Gauges are available in 3 models; Metric, Imperial, and Digital. Western supplies the Pocket Pit Gauges as a Kit, and it includes; Wood Case, Pocket Pit Gauge Blade, Dial Indicator (Metric, Imperial, or Digital), Allan Key, extra Contact Point, Manual, and Calibration Certificate
Kit Contents
- Western Instruments N88-4 Pocket Pit Gauge
- Dual Edge Blade (reversible), 1.5" (38mm) long
- Spot base
- N88-S - Standard contact tip
- N88-C - Conical contact tip
- Allen wrench (for adjustment)
- Calibration Certificate Without Data
- Operator Instructions
- Carrying Case
Features
Zeroing Dial Indicator
- To quickly check the Zero Point of the Dial indicator, place the Blade on a representative smooth surface.
- Gently press the Plunger, until the contact point touches the surface.
- While the contact point is on the surface, loosen the Bezel Lock, and rotate the Bezel Scale until it reads '0' with respect to the pointer.
|
Height Zeroing
- Loosen the Fastener(s) holding the Dial Indicator in place.
- Hold the Blade firmly on a Flat Surface, and gently press the body of the Dial Indicator down until the contact point touches the flat surface.
- Carefully re-tighten the Clamp Fastener(s) or the Set Screw.
- Any fine zeroing can be done by rotating Bezel Scale on the Indicator.
- Height Zeroing should be done, whenever the unit is put into to use.
|
Zeroing a Digital Indicator
- Digital Indicators can be Height Zeroed or Positioned in the same way as a Mechanical Dial Indicator.
- To Zero the Digital Indicator simply press the Zero Button when the Contact Point is on a reference point. If the Digital Indicator is Height Zeroed, press Zero when the Plunger is fully retracted.
- To select Metric or Imperial Measurement, simply press the mm/in Button.Whennot in use, press the On/Off Button to turn the Indicator off.
|
Indicator Positioning
- The position (or rotation) of the Dial indicator can be changed by simply loosening the Clamp Fasteners or Set Screw, and rotate the Dial Indicator about the Blade.
- After the Dial Indicator is rotated, the unit should be Dial Zeroed.
| Specifications
Dial and Digital Indicators
|  | | |
| Model | Imperial Dial Indicator | Metric Dial Indicator | Digital Indicator |
| Range | 0.0-0.5" | 0.0-12.7 mm | 0.0-0.5" |
| Resolution | 0.001" | 0.01 mm | 0.0-12.7 mm |
| Dial Diam. | 1.4" | 35.5 mm | 56 mm, 2.2" |
Measuring Corrosion (Depth)
| | | |
| Model | 1-Standard Tip | 2-Conical Tip | 3-Needle Tip |
| Diam. | 0.040" diam. | 0.010" diam. | 0.005" diam. |
| Tipe / Part Number: | #1 Contact Point-Standard N88-S | #2 Contact Point-Conical N88-C | #3 Contact Point-Needle N88-N |
* Western offers a variety of Contact Points, which are all 0.625" (16mm) long. Any ADG Contact point can be used with our special dial indicators, but a different length may affect Height Zeroing, or the vertical position of the Dial Indicator. Contact Points are easily replaced, by extending the Contact Point , and turning it counter clockwise.
Related Products
Downloads